
Fix it yourself

What are you responsible
for in your home?
We take care of the building and
the surrounding area, so you can
focus on enjoying student life.
You are responsible for your
apartment and take care of
small tasks yourself.
What you need to know as a tenant:
- You handle small tasks in your apartment
(e.g. changing bulbs, batteries, cleaning
floor drains). - We handle bigger issues (such as electrical
faults, pipe flushing, broken machines). - Safety: Test your smoke alarm regularly.
Keep stairwells free from items.
 Who is responsible for what in
your home?
Things you can fix yourself
|
Things you can
fix yourself
1.Fix a clogged kitchen sink
Water draining slowly?
Fixing a clogged kitchen sink can be easier
than you think!
- Flush with warm water and dish soap:
Start by flushing vigorously with warm or
hot water and a little dish soap. This can
dissolve grease and dirt causing the
blockage. - Use a plunger:
If the warm water doesn’t help, try using
a plunger to remove the blockage. - Report a fault:
If none of this works, make a fault report
on My Pages.
| Note! Never pour oil or cooking fat down the drain, as it can clog the pipes. Instead, let the fat cool, pour it into a sealable container, and take it to a recycling center. |
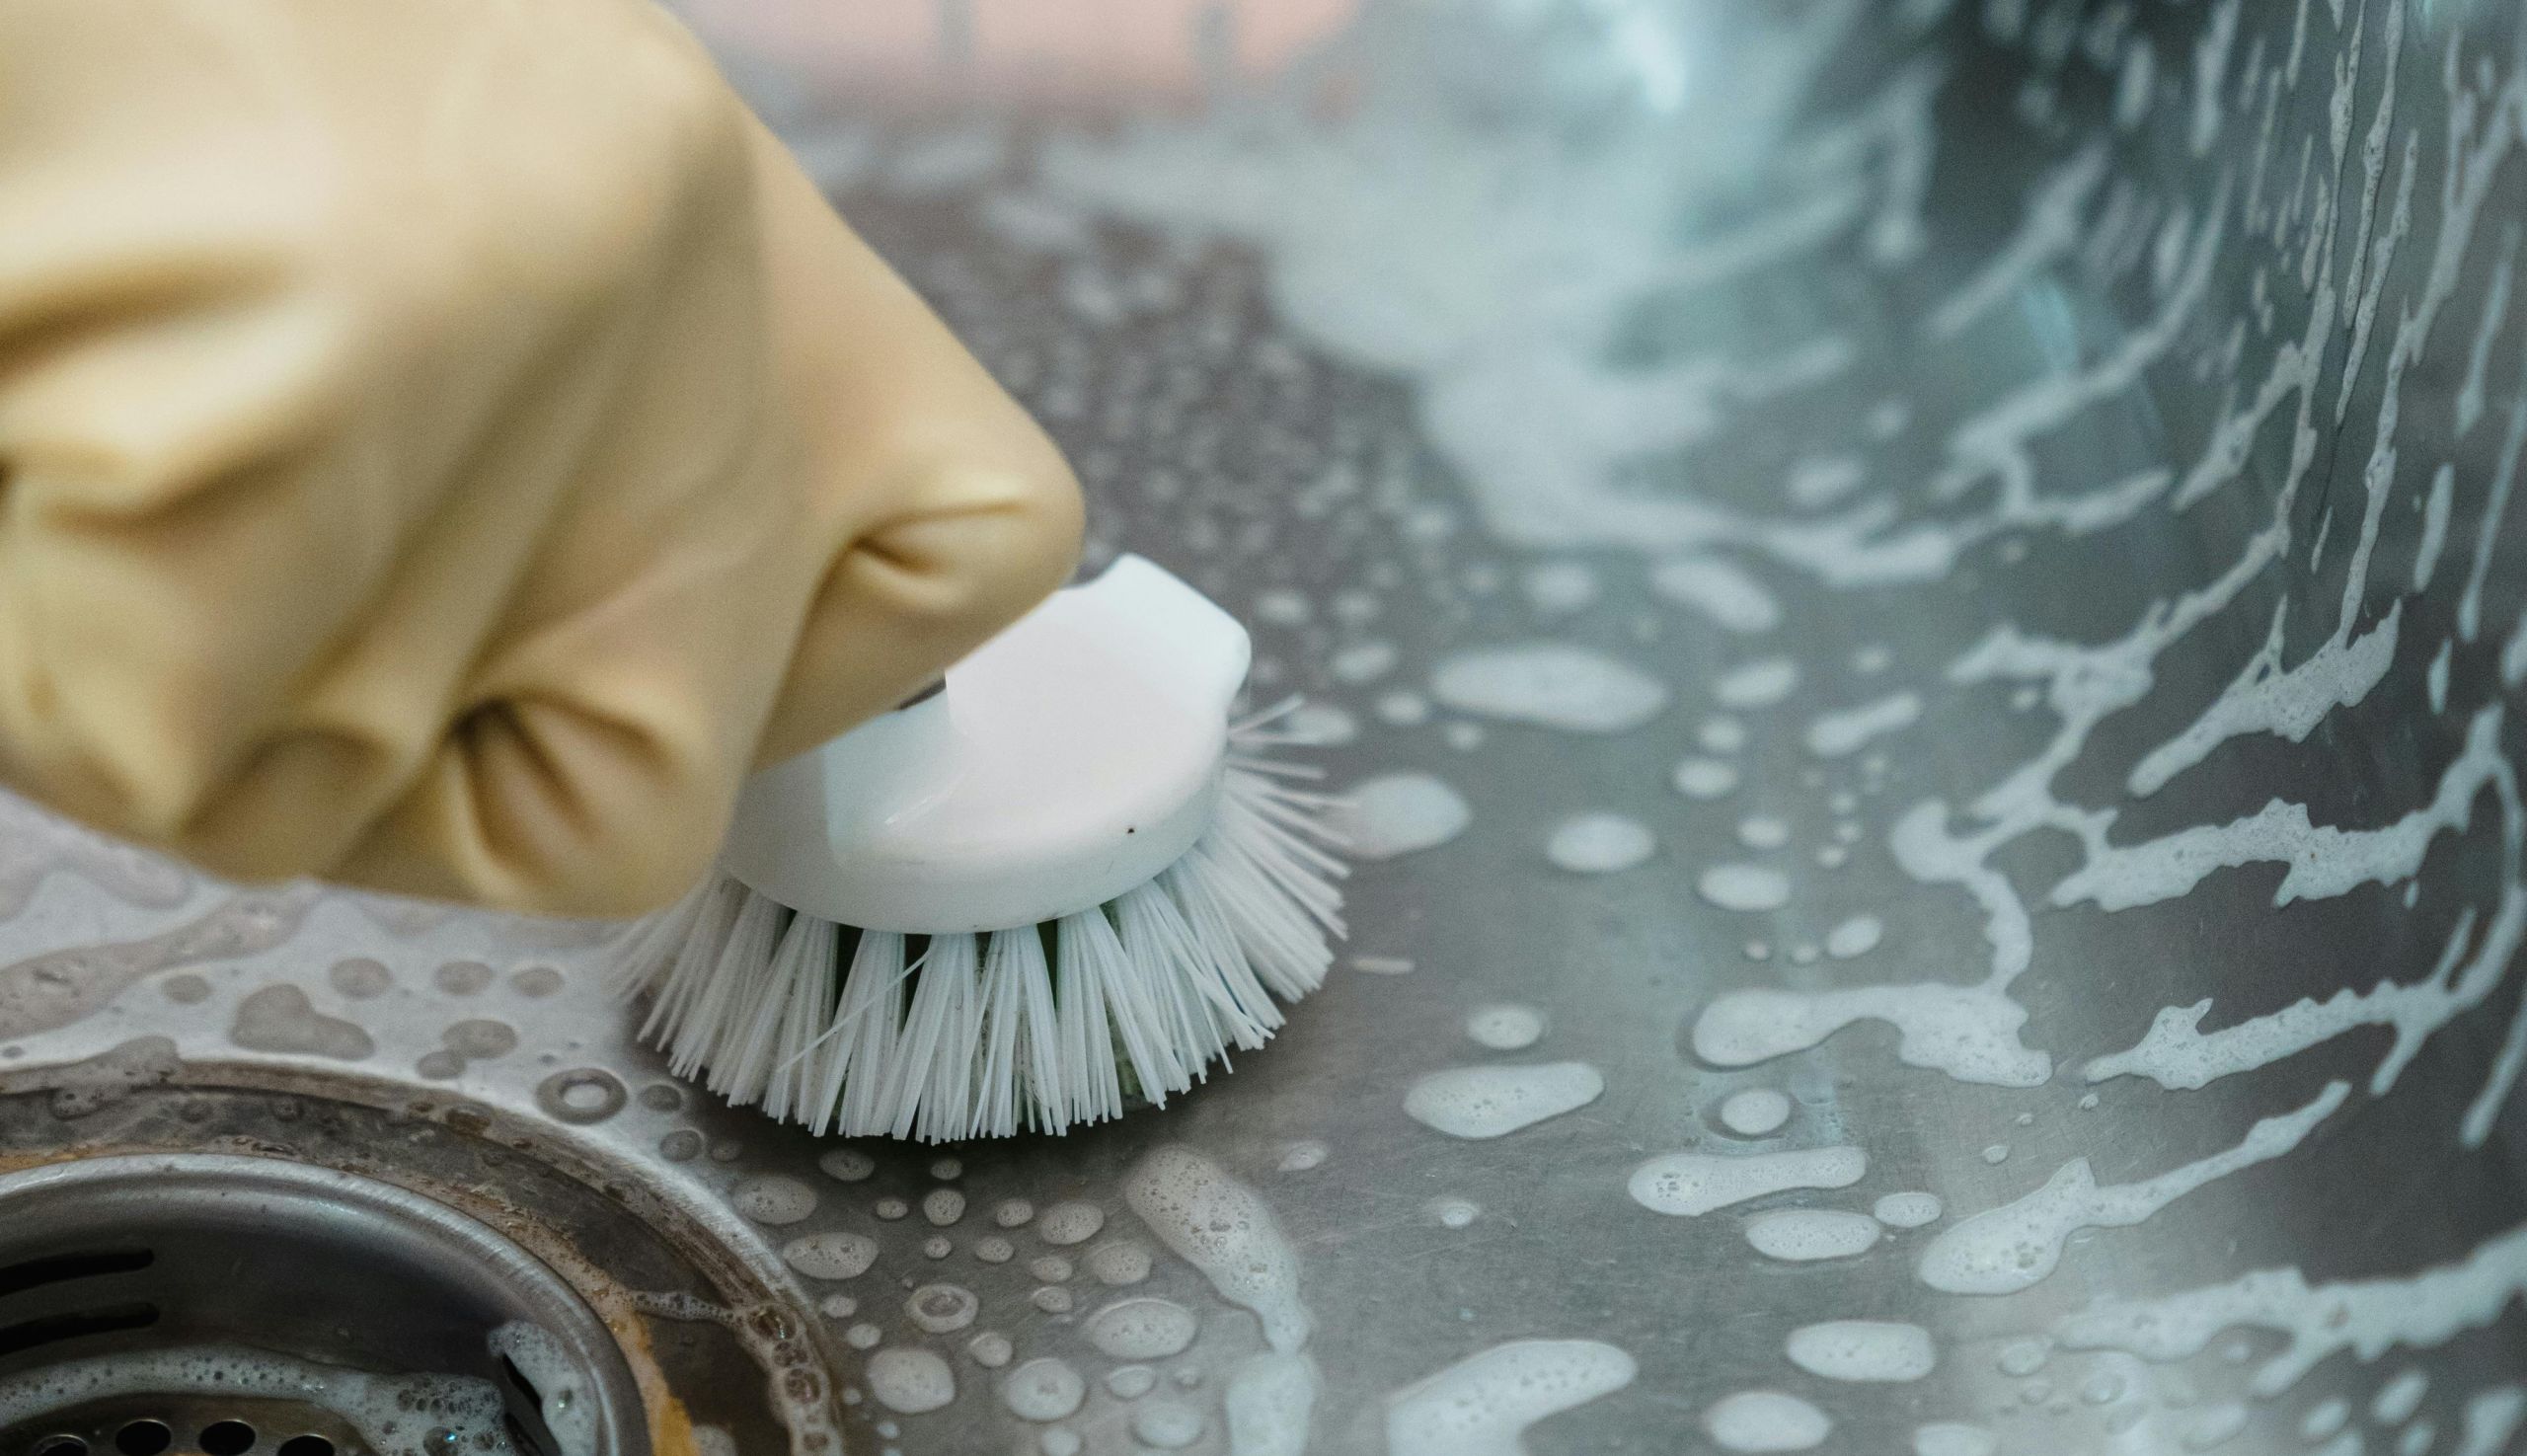
2. Clean the Floor Drain
Cleaning a floor drain is quite simple and important
to avoid clogs and bad odors.
- Protect your hands:
Wear rubber gloves to keep your hands
clean and protected. - Remove the cover:
Lift off the floor drain cover, which is
often made of metal or plastic. If it’s
stuck, use a screwdriver. - Remove debris:
Use a small brush to remove debris and
hair from the drain. In many cases, you
need to lift out an insert from the drain
to clean it. - Dish soap and warm water:
If the drain is slow, pour down a mixture
of warm water and dish soap. - Flush with hot water:
Pour hot water into the floor drain to rinse
away loose debris. - Put the cover back:
When everything is clean, put the cover
back on.
Tip! Clean the floor drain regularly to
avoid bad odors.
3. Clean the water trap
Cleaning the water trap is simple and doesn’t require any
heavy tools.
- Preparations:
Turn off the water: To avoid spills, turn off
the water. Protect the work area: Lay out
a towel or plastic to catch any water. - Locate the water trap:
The water trap is usually located under
the sink and looks like a U-shaped bend
in the pipe. - Remove the water trap:
Unscrew: Use your hands if it’s not too
tightly fastened. Unscrew both the upper
part connected to the drainpipe and the
lower part that leads the water away.
Be careful: Place a bucket or basin
underneath to catch any water that
may spill out. - Clean the water trap:
Empty and clean: Remove debris,
hair, soap scum, and dirt. Use a small
brush or cloth to scrub the inside.
Flush through: Run water through
the water trap to ensure it’s clean. - Reinstall the water trap:
Screw the water trap back on securely,
but not too tight to avoid cracking. - Test:
Turn the water back on and check that
everything works properly. Make sure
there are no leaks and the water flows
freely. If it still doesn’t work, make a
fault report.
4. Take Care of the Kitchen Hood
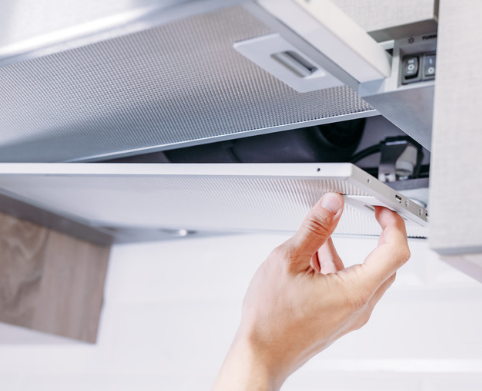
A functioning kitchen hood improves ventilation
and helps remove cooking fumes and moisture.
To keep it working optimally, it’s important to
maintain it regularly.
| Clean the Filter
The filter in the kitchen hood needs to be Grease in the filter can melt from the |
- Remove the filter:
Lift the filter off from the underside
of the hood. - Soak the filter:
Fill the sink with warm water and
a bit of dish soap. Soak the filter for
a while. - Wipe the hood opening:
Take the opportunity to wipe the
inside of the hood opening with
a cloth. - Clean the filter housing:
Wash the filter housing with water
and dish soap to remove grease. - Put the filter back:
When the filter is clean and dry,
put it back in the housing and snap
it back into place in the hood.
5. If the Electricity Stops Working
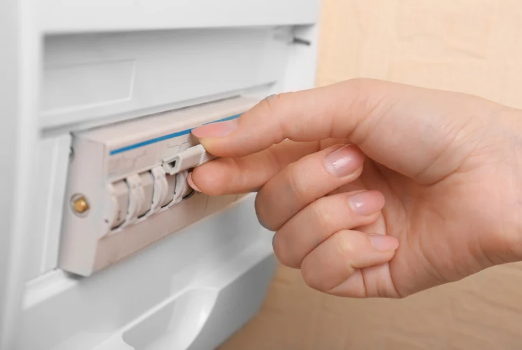
If the electricity stops working in your apartment,
follow these steps to find out what’s wrong.
| Remember to be careful when handling electricity, and if you feel unsure, wait for professional help. |
- Check fuses and circuit breakers:
Go to the electrical panel, usually in the
hallway, and check if any fuse has blown.
If a fuse has tripped, turn it back on.
Also check that no circuit breakers have
been switched off. -
See if electricity works in certain areas:
If only parts of the apartment are without
power, the problem may be limited to that
circuit or a specific appliance. -
Test other appliances:
Unplug all electrical devices and test if the
electricity works. This can help you identify
if a specific appliance is causing the
problem. -
Check if others in the building are
affected:
Is it only your apartment, or do other
apartments in the same building have
no power? If multiple apartments are
affected, it may be a bigger electrical
issue.

Check with Göteborg Energi:
Planned power outages are announced,
but sometimes unexpected faults can occur.
To see current outages:
 Visit Göteborg Energi’s
website.
Report a fault:
If you can’t fix the problem yourself or if it
seems to be a major electrical fault,
make a fault report.
6. Ensure a Good Indoor
Environment
To get the best possible indoor environment,
-
Open window vents:
When the window vents are open, all the
air in your apartment is replaced every
two hours. Closed vents cause poor
indoor air quality, make it harder
for the radiators to heat the room,
and can lead to mold. -
Clean the vents:
Make sure both supply and exhaust
vents are clean and dust-free. -
Keep the bathroom door open:
After bathing or showering, as well as
when you’ve done laundry or are drying
clothes, leave the bathroom door open. -
Ventilate during winter:
Ventilate with cross-ventilation for short
periods. This works better than leaving a
window slightly open for a long time.
Vents in the home should be kept open. -
Place furniture correctly:
Keep furniture at least 15 cm away from
the radiators. -
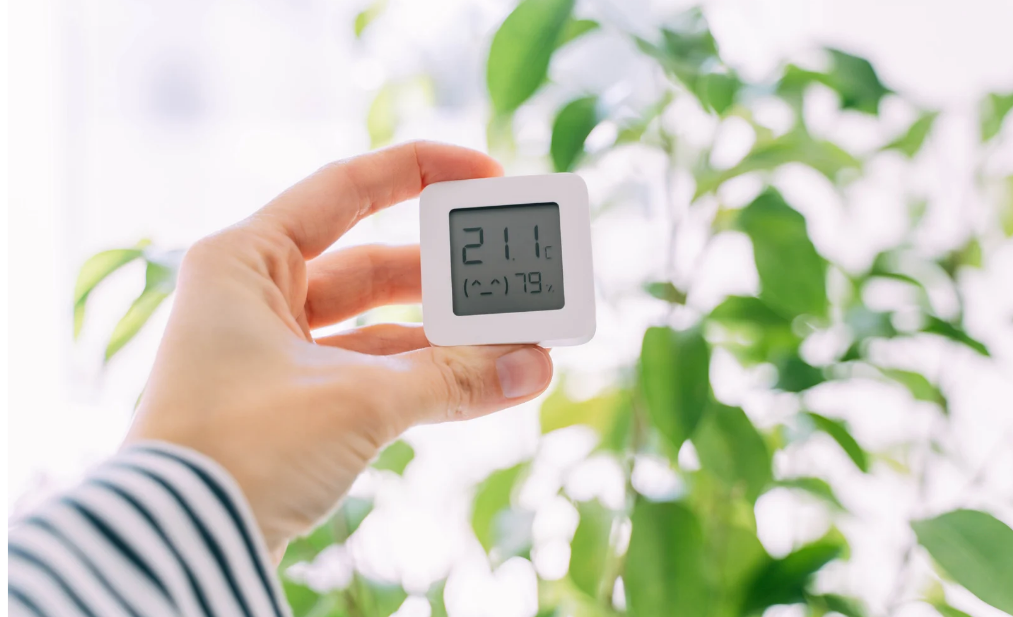
Measure the temperature:
Hold a thermometer in the middle of the
room, one meter above the floor, to check
the temperature. If it’s below 20 degrees
Celsius, make a fault report.

Tip! Use Rugs:
A cold floor can make the entire room feel colder.
A rug reduces direct contact with the cold floor,
which makes you feel warmer when walking
or sitting on the floor.
Sound Absorption:
Rugs absorb sound and reduce echoes, which
can make the room quieter.
More about electricity and heating
7. Change Light Sources

How to Replace Fluorescent Tubes or Light Bulbs
If the fluorescent tube starts flickering or takes longer
to light up, it’s time to replace it.
A flickering tube can increase the risk of fire,
so replace it as soon as possible.
Choose the right fluorescent tube:
Make sure the new tube has the same wattage as
the old one. This ensures you get the correct
length and brightness.
Check the fixture:
Look to see if the fixture has a *starter. If it does,
you need to replace both the tube and the
starter with “EM” LED tubes and starters. If the
fixture does not have a starter, you need “HF”
LED tubes.
Report a fault:
If you have trouble replacing the tube, or if the
socket in the fixture is broken,
make a fault report.
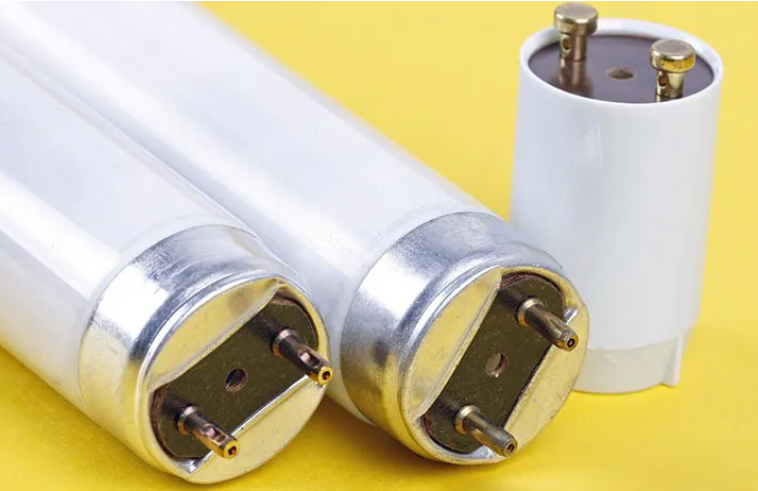
A starter is a small part that looks like a plug
and is located inside the fluorescent tube lamp.
It helps to ignite the fluorescent tube. There are
different types of fluorescent tube lamps.
If the lamp is conventional, a starter is needed,
but if it is electronic, it is not required. It is a
good idea to replace both the fluorescent tube
and the starter at the same time because they
are usually the same age.
The new starter must match the power (wattage)
of the fluorescent tube.
Tip!
Bring the broken fluorescent tube or light bulb
with you to the store —it makes it easier to find
the right replacement.